
Cookie Butter Cheesecake Cups Recipe
Introduction
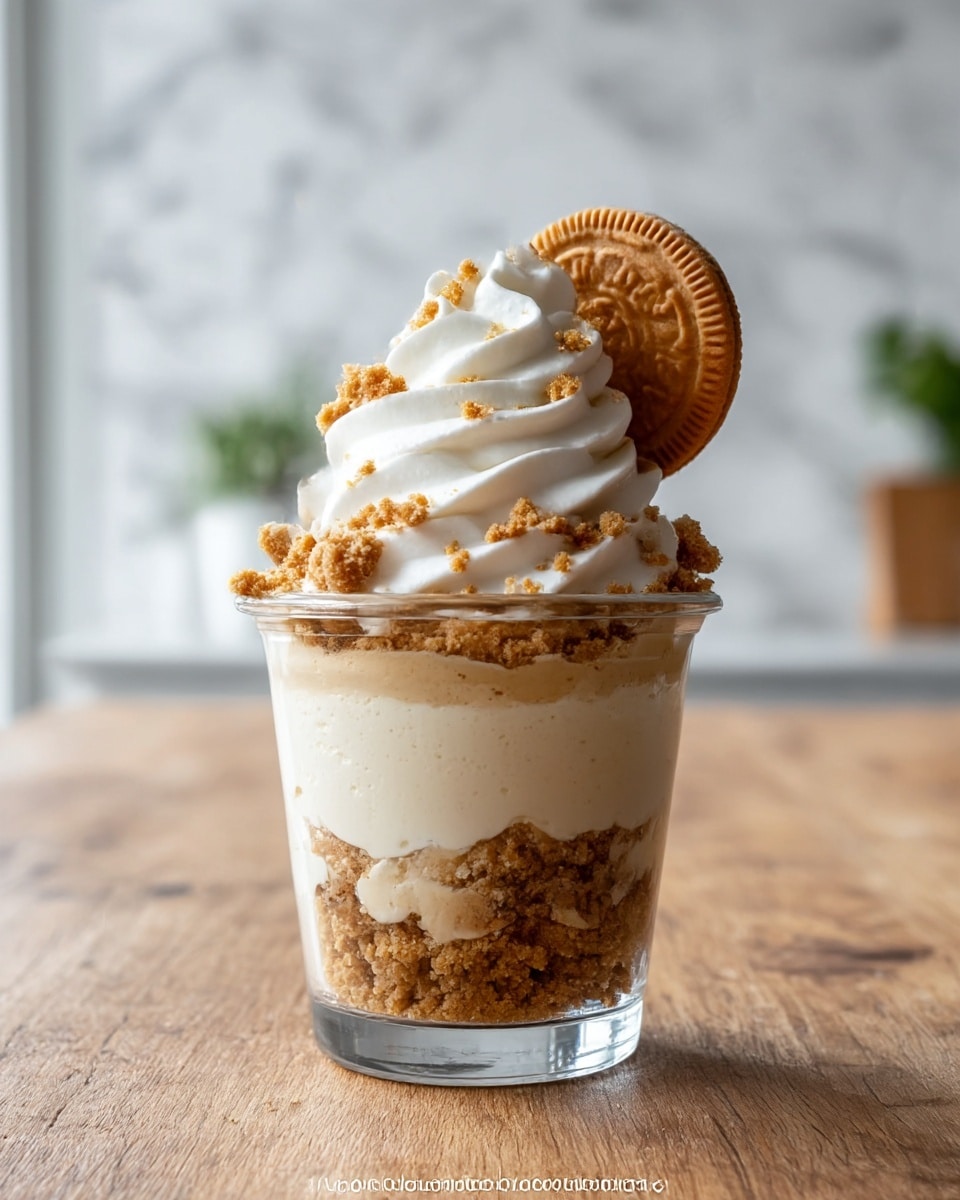
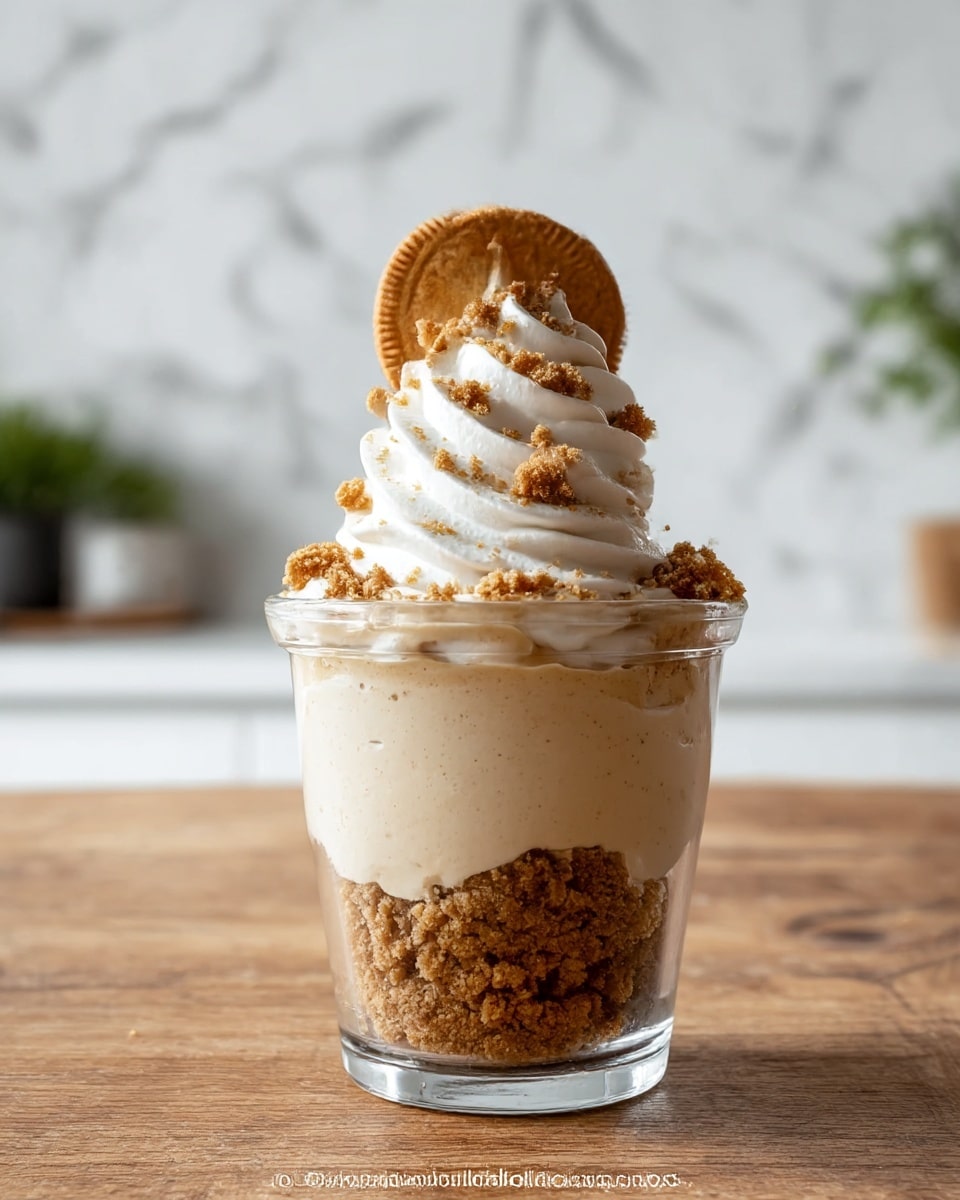
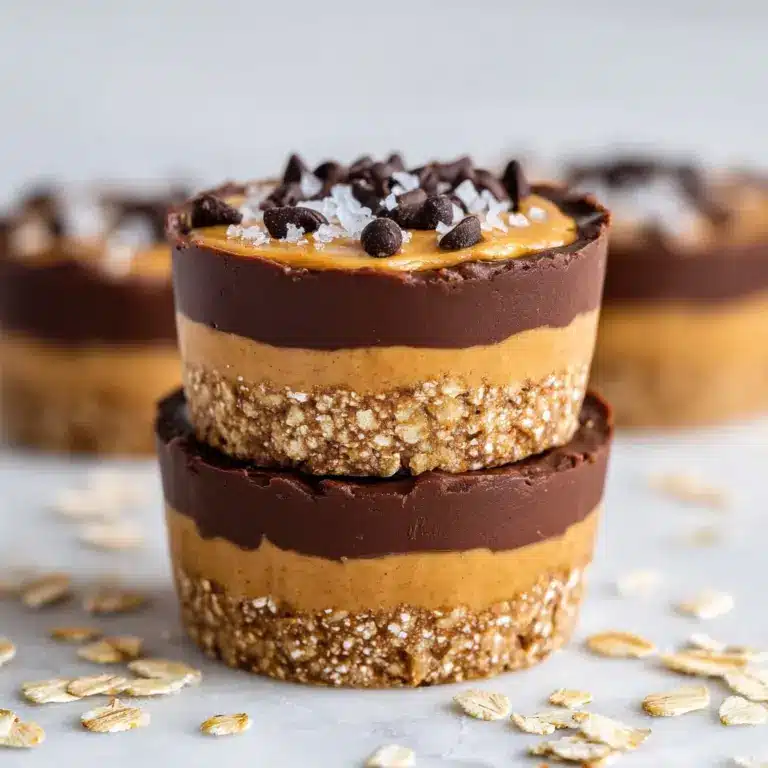
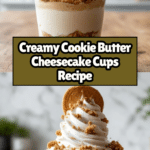
Cookie Butter Cheesecake Cups are a delightful no-bake treat combining the rich creaminess of cheesecake with the warm, spiced flavor of cookie butter. Perfectly portioned in individual cups, these desserts are easy to prepare and impress at any gathering.
Ingredients
- 1 cup graham cracker crumbs (about 8 full sheets)
- 3 tablespoons unsalted butter, melted
- 1 tablespoon powdered sugar
- 8 ounces full-fat cream cheese, softened
- 1/2 cup smooth cookie butter
- 1/3 cup powdered sugar
- 1 teaspoon vanilla extract
- 1 cup heavy whipping cream, cold
- 2 tablespoons cookie butter, melted (optional, for garnish)
- Crushed graham crackers (optional, for garnish)
- Mini chocolate chips (optional, for garnish)
Instructions
- Step 1: Make the crust. In a small bowl, mix the graham cracker crumbs, melted butter, and 1 tablespoon of powdered sugar until the mixture resembles wet sand. Divide this evenly among 6 small cups or ramekins (3-4 oz each). Press firmly with the back of a spoon to create a compact base. Refrigerate the cups while preparing the filling.
- Step 2: In a large bowl, beat the softened cream cheese with an electric mixer until smooth and lump-free. Scrape down the sides, then add the cookie butter, powdered sugar, and vanilla extract. Beat again until fully combined and creamy.
- Step 3: In a clean bowl, beat the cold heavy whipping cream on medium-high speed until stiff peaks form. Be careful not to overbeat to avoid turning it into butter.
- Step 4: Gently fold the whipped cream into the cream cheese mixture using a spatula and slow, sweeping motions. Continue folding until the filling is uniform with no white streaks.
- Step 5: Remove the cups from the fridge. Spoon or pipe the cheesecake filling over the chilled crusts, smoothing the tops as desired.
- Step 6: Cover the cups loosely with plastic wrap and refrigerate for at least 4 hours, preferably overnight, to allow the cheesecake cups to set firmly.
- Step 7: Before serving, drizzle with melted cookie butter and sprinkle crushed graham crackers or mini chocolate chips on top for garnish. Serve chilled.
Tips & Variations
- For a stronger cookie butter flavor, add an extra tablespoon of cookie butter into the cheesecake filling.
- Use a piping bag to create a clean, professional look when adding the cheesecake filling.
- Substitute graham cracker crumbs with digestive biscuits or gingersnap crumbs for a different twist.
- Add a pinch of cinnamon to the crust mixture to enhance the spice notes.
- Top with crushed nuts or caramel drizzle for added texture and flavor.
Storage
Store the cheesecake cups covered in the refrigerator for up to 3 days. They can be kept in an airtight container or covered tightly with plastic wrap. When ready to serve, you can add fresh toppings again if desired. No reheating is needed as these are best enjoyed chilled.
How to Serve
Serve this delicious recipe with your favorite sides.
FAQs
Can I make these cheesecake cups ahead of time?
Yes, they can be prepared a day in advance and refrigerated overnight to set fully. This makes them perfect for parties or meal prepping desserts.
Can I use a different type of nut butter instead of cookie butter?
While cookie butter has a unique spiced flavor, you can experiment with other smooth nut butters like peanut or almond. Keep in mind the taste will vary accordingly.
Print
Cookie Butter Cheesecake Cups Recipe
- Total Time: 4 hours 15 minutes (including chilling time)
- Yield: 6 individual cheesecake cups 1x
Description
These Cookie Butter Cheesecake Cups combine a rich and creamy cheesecake filling infused with smooth cookie butter atop a crunchy graham cracker crust. Perfectly portioned in individual cups, this no-bake dessert is easy to prepare, chilled to set, and topped with extra cookie butter and crunchy garnishes for added texture and flavor.
Ingredients
For the Crust
- 1 cup graham cracker crumbs (about 8 full sheets)
- 3 tablespoons unsalted butter, melted
- 1 tablespoon powdered sugar
For the Cheesecake Filling
- 8 ounces full-fat cream cheese, softened
- 1/2 cup smooth cookie butter
- 1/3 cup powdered sugar
- 1 teaspoon vanilla extract
- 1 cup heavy whipping cream, cold
For Garnish (Optional)
- 2 tablespoons cookie butter, melted
- Crushed graham crackers
- Mini chocolate chips
Instructions
- Make the crust: In a small bowl, mix the graham cracker crumbs, melted butter, and powdered sugar until the mixture resembles wet sand. Divide evenly among 6 small cups or ramekins (3-4 oz each). Press firmly with the back of a spoon to form a compact base. Chill in the refrigerator while preparing the filling.
- Prepare the cream cheese mixture: In a large bowl, beat the softened cream cheese with an electric mixer until completely smooth and lump-free. Scrape sides of the bowl as needed. Add cookie butter, powdered sugar, and vanilla extract, then beat until well combined and creamy.
- Whip the heavy cream: In a separate clean bowl, beat the cold heavy whipping cream on medium-high speed until stiff peaks form, meaning the cream stands straight when beaters are lifted. Avoid overbeating to prevent butter formation.
- Combine mixtures: Gently fold the whipped cream into the cream cheese mixture using a spatula and slow sweeping motions to keep the airy texture. Fold until no white streaks remain and the filling is uniform.
- Assemble cheesecake cups: Remove crust cups from the refrigerator. Spoon or pipe the cheesecake filling over each crust, smoothing the tops evenly.
- Chill: Cover loosely with plastic wrap and refrigerate for at least 4 hours, preferably overnight, to allow the cheesecake to set firmly.
- Garnish and serve: Just before serving, drizzle melted cookie butter over the tops and sprinkle with crushed graham crackers and mini chocolate chips for added texture and flavor. Serve chilled.
Notes
- For a stronger cookie butter flavor, increase the amount of cookie butter in the filling or drizzle extra on top before serving.
- Ensure cream cheese is softened to room temperature for a smoother filling.
- Be careful not to overbeat the whipping cream to maintain a light texture.
- Use piping bags for a decorative presentation if desired.
- Store leftovers covered in the refrigerator for up to 3 days.
- Prep Time: 15 minutes
- Cook Time: 0 minutes
- Category: Dessert
- Method: No-Cook
- Cuisine: American
Keywords: cookie butter cheesecake, no bake cheesecake cups, individual cheesecake dessert, graham cracker crust, creamy cookie butter dessert
