
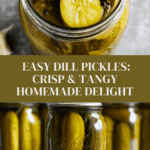
Easy Homemade Dill Pickles Recipe
If you’ve ever wanted to bottle the taste of summer, these Easy Homemade Dill Pickles are quite simply the answer. Crisp, tangy, and wonderfully aromatic with fresh dill and snappy garlic, this recipe turns humble cucumbers into a crave-worthy snack or side that will brighten any table. Making your own pickles at home is not only satisfying but surprisingly approachable—you’re in for a real treat whether you’re a pickling pro or a beginner eager to explore! Dive in and discover just how simple and flavorful Easy Homemade Dill Pickles can be.
Ingredients You’ll Need
There’s magic in a handful of simple ingredients, and in this recipe each one shines—lending crunch, zip, fragrance, or just the right amount of saltiness. Here’s what you’ll need to whip up a batch of these delicious pickles, each ingredient playing a starring role in their signature flavor.
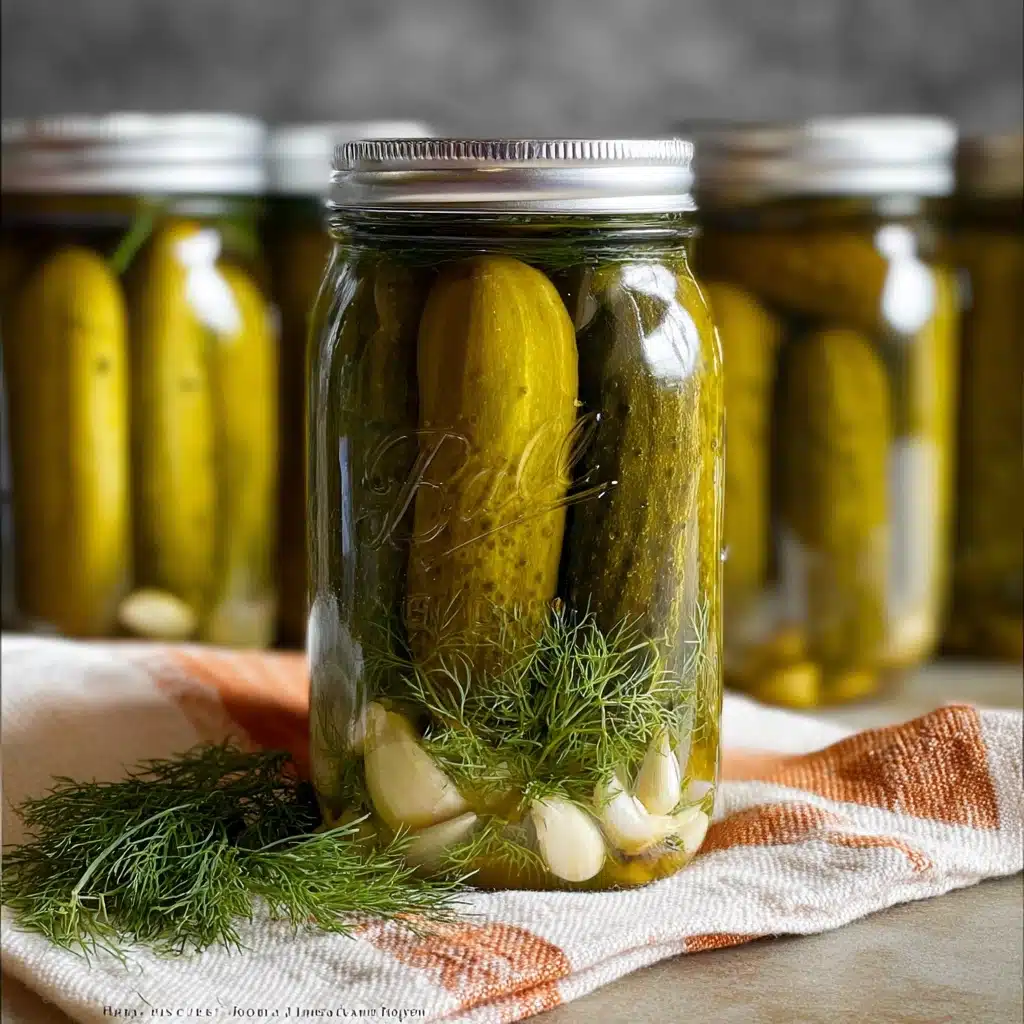
- Cucumbers: Choose small, firm cucumbers with thin skins for the crispiest pickles—make sure to rinse them well and trim the ends!
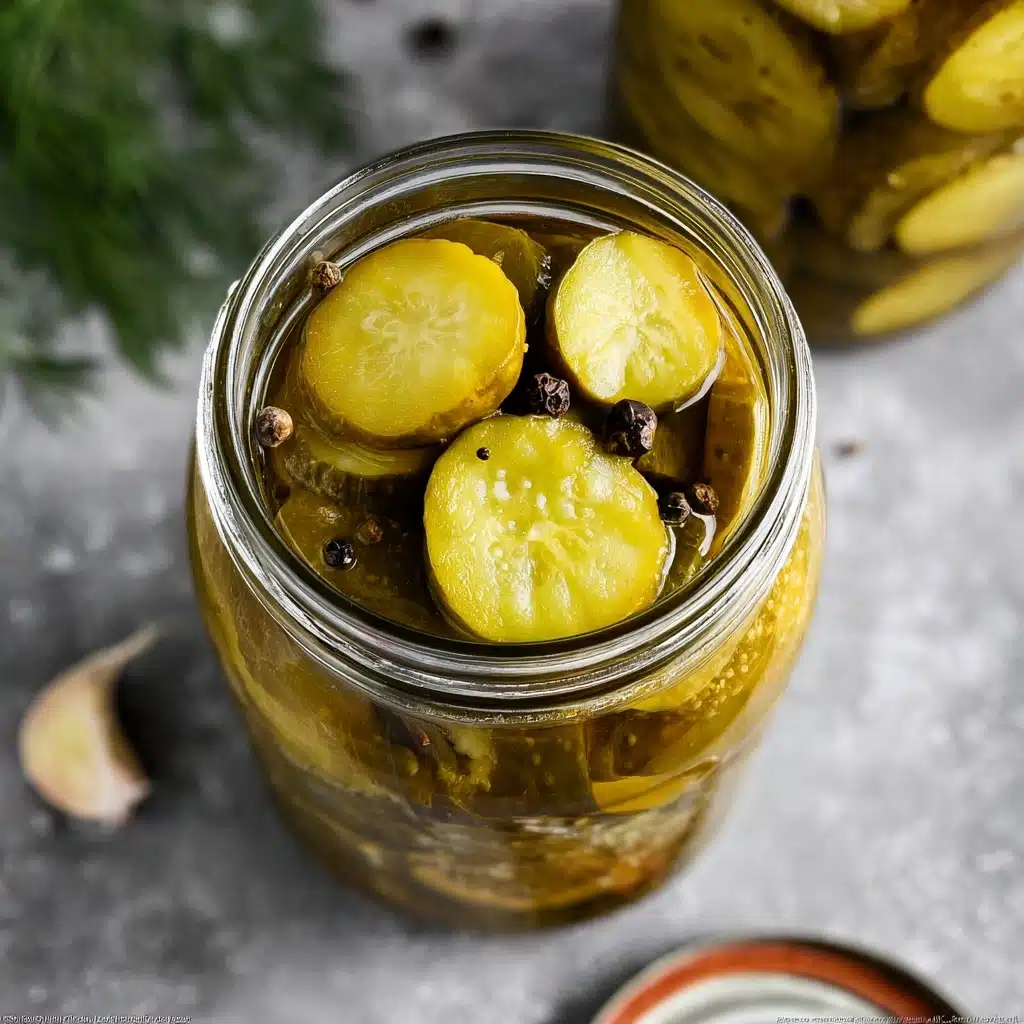
- Peppercorns: Just five per jar brings warmth and a touch of spice without overwhelming the briny goodness.
- Garlic Cloves: Two per jar infuse a generous punch of flavor—smash them lightly to help the brine soak in.
- Fresh Dill: Generous twigs add a vibrant, herbal note that defines classic dill pickles—don’t skimp, the fresher the better!
- Water: Filtered or tap is fine; it forms the bulk of your brine and keeps everything crisp and refreshing.
- Distilled White Vinegar: Its bright acidity is what brings out that mouthwatering tang, so pick one with 5% or 6% acidity for ideal results.
- Fine Salt: Salt seasons and preserves, and the fine crystals dissolve quickly for an even, clear brine.
- Granulated Sugar: A touch of sweetness rounds off the sharpness of the vinegar for irresistible balance.
- Bay Leaves: Just one or two per jar lends a subtle earthiness and depth to the brine—remove after simmering.
How to Make Easy Homemade Dill Pickles
Step 1: Sterilize Your Jars for Safe, Crunchy Pickles
Give your jars and lids a good scrub with warm soapy water, then sterilize the lids by boiling them for 4 to 5 minutes before setting them aside to dry. Pop your jars upside down in a 215°F oven for about 20 minutes; this ensures everything is squeaky clean and your pickles stay safe and delicious for months.
Step 2: Whip Up the Perfect Pickling Brine
Combine water, distilled vinegar, salt, sugar, and bay leaves in a big pot and bring it to a boil. Let it simmer gently for about 5 minutes so every grain dissolves, infusing the salt and sugar evenly. Let the brine rest for 10 minutes once off the heat, and don’t forget to fish out those bay leaves before pouring.
Step 3: Fill Each Jar Like a Pro
Snip both ends off your cucumbers, then layer fresh dill, smashed garlic cloves, and a handful of peppercorns on the bottom of each jar. Stand or pack the cucumbers in tightly, but not so forcefully that you bruise them. Carefully pour your warm brine over the vegetables, leaving about half an inch at the top, and loosely place lids over to get ready for processing.
Step 4: Process to Perfection
Line your canning pot so jars don’t touch the bottom, either with a rack or a folded towel—this prevents any unfortunate cracking. Nestle your filled jars in, add water up to about two inches below the top, and bring everything to a gentle boil. Set the timer for 15 minutes or keep an eye out for the telltale color change: cucumbers turning a lighter green signals it’s time to remove them.
Step 5: Seal and Cool for Crunch
Use a jar lifter to gently take each hot jar out of the water, tighten the lids, and flip them upside down. Pile on a few blankets or towels to trap in the heat and let them sit undisturbed for 12 to 24 hours. Listen for that satisfying “pop”—it means the pickles are perfectly sealed and ready to be stored in a cool spot for months of snacking!
How to Serve Easy Homemade Dill Pickles
Garnishes
For effortless flair, sprinkle a pinch of freshly chopped dill over the pickles just before serving, or add a few extra peppercorns for a pop of color and aroma. A slice of lemon or thin red onion rings can also make your Easy Homemade Dill Pickles shine at any picnic or party table.
Side Dishes
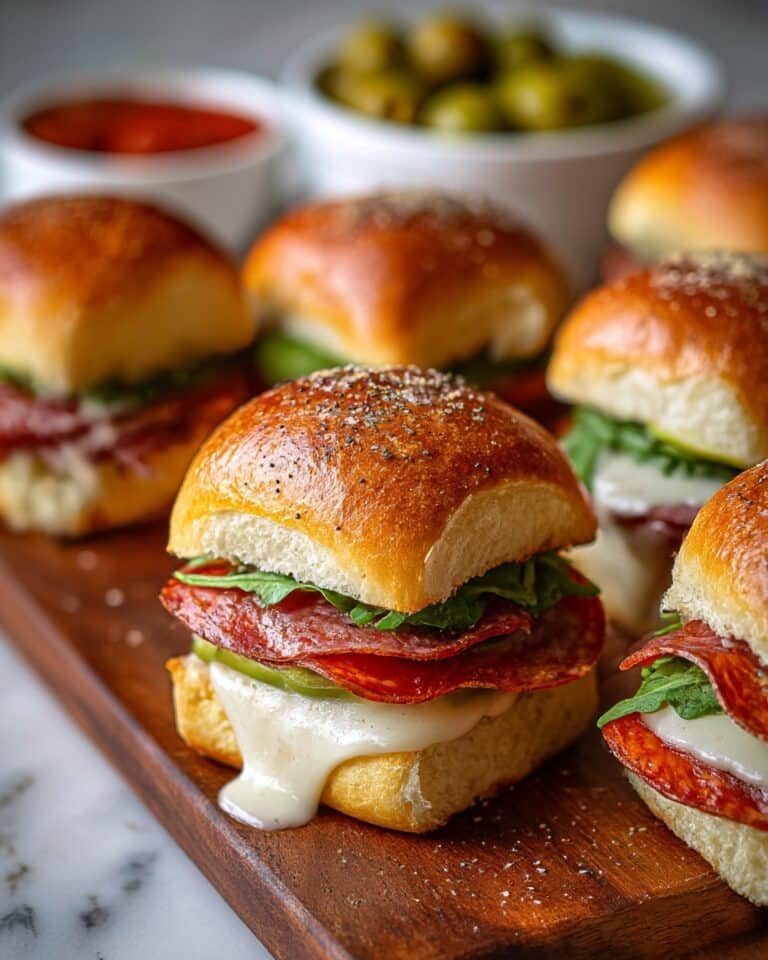
Pair your pickles with classic burgers, savory grilled cheese sandwiches, or piled high next to roast chicken. They’re a welcome tangy contrast to rich, cheesy dishes and a refreshing addition to any charcuterie or cheese board.
Creative Ways to Present
Get playful by slipping them into mason jars for DIY party favors, or slice them lengthwise for stacking on burgers and sliders. For an appetizer twist, serve them on skewers with cheese cubes, cherry tomatoes, and olives—a bright, crunchy addition to any gathering.
Make Ahead and Storage
Storing Leftovers
Once sealed and cooled, your Easy Homemade Dill Pickles are happiest in a cool, dark pantry or cupboard. They’ll stay fresh and crisp sealed in their brine for several months, and once opened, keep them in the fridge to enjoy over a couple weeks—they’ll remain tasty right up to the last spear.
Freezing
Freezing isn’t recommended for pickles as it can damage their crispness and make them mushy. These pickles are at their best straight from the pantry or fridge—so just make a big enough batch to last until next season!
Reheating
There’s no need to reheat these beauties—Easy Homemade Dill Pickles are all about cold, crunchy refreshment. If you like, take them out of the fridge a few minutes early so they’re not too frosty when served.
FAQs
Can I use apple cider vinegar instead of white vinegar?
Yes, you can! Apple cider vinegar gives a slightly sweeter, fruitier tang but works well for pickling. Just make sure it has at least 5% acidity for food safety and adjust for flavor preference.
What if my pickles turn soft instead of crunchy?
This can happen if cucumbers aren’t super fresh or if they’re overcooked during processing. Try using smaller, firm cucumbers and don’t boil the jars longer than needed for maximum crunch every time.
Can I add other spices or vegetables?
Absolutely! Add a few chili flakes for heat, or slip in a slice of carrot or red pepper with your cucumbers. Just don’t overcrowd the jar and keep the brine ratio the same for safe preserving.
How long do I have to wait before eating them?
The flavor only gets better with time, but if you’re eager, start tasting after a week. For the fullest dill and garlic flavor, give your Easy Homemade Dill Pickles at least two weeks to develop.
Can I use less salt or sugar in the brine?
You can adjust the sugar slightly for less sweetness, but salt is essential for proper preservation and safety. For best results, stick to the recommended amounts or find a tested recipe with lower salt if you have dietary concerns.
Final Thoughts
Nothing brings a bigger smile than popping open a jar of your own Easy Homemade Dill Pickles, knowing you crafted every crisp, zesty bite. Give this homey recipe a try—you might just fall in love with the simple joy of pickling and the unbeatable flavor it brings to your table!
Print
Easy Homemade Dill Pickles Recipe
- Total Time: 24 hours
- Yield: Varies
- Diet: Vegetarian
Description
Learn how to make delicious homemade dill pickles with this easy recipe. These pickles are tangy, crunchy, and full of flavor – the perfect addition to any sandwich or snack!
Ingredients
Cucumbers
- 12 pounds cucumbers* (approximately), well rinsed with ends trimmed
Peppercorns
- 1/2 tablespoon peppercorns (5 per jar)
Garlic
- 16 garlic cloves (2 per jar)
Fresh Dill
- 2–3 twigs per jar
Pickling Brine
- 12 cups (3,000 ml) water (cold or lukewarm)
- 2 cups (500ml) distilled white vinegar (5% or 6% acidity)
- 2/3 cup (200g) fine salt
- 1/2 cup +1 tablespoon (115g) granulated sugar
- 5 bay leaves
Instructions
- Sterilize Jars: Wash all jars and lids with warm soapy water. Sterilize the lids fully submerged in water for 4-5 minutes after the water starts boiling; carefully paper towel pat dry lids. Preheat the oven to a 215°F and place jars upside down onto oven racks. Dry jars for 20 minutes or until completely dry.
- Make Pickling Brine: In a large pot, combine and stir: 12 cups water, 2 cups vinegar, 1/2 cup sugar, 2/3 cup salt and toss in 5 bay leaves. Bring to a boil, reduce heat to low and boil for 5 minutes. Remove from heat making sure salt and sugar are dissolved and let it rest 10 minutes, then discard the bay leaves.
- Fill Jars: Wash and cut off both ends of the cucumbers. Fill the bottom of each jar with couple twigs of fresh dill, garlic cloves and black peppercorns. Tightly pack jars with cucumbers. Slowly pour the pickling brine into jars over cucumbers, up to the rim (leaving 1/2-inch of space at the top), and cover with lids, but do not close. A 1/4 measuring cup works great for pouring pickling brine.
- Process the Jars: Line a kitchen towel or a microfiber towel at the bottom of the pot if not using rack. It is very important that the bottom of jars are not touching directly the pot or jars will crack when heated. Place packed jars into the canning pot and fill with warm water, about 2 inches below jars. Cover with lid, bring to a boil over medium-high heat, then reduce heat to low and process/boil jars for about 15 minutes or as soon as cucumbers turn light green.
- Seal the Jars: Carefully remove jars one by one from the water using jar lifter and tightly close lids (use kitchen towel or rubber oven mitt for best results). Flip the jars upside down and cover them with bath towels or blankets as soon as you flip them over (the more layers the better). Allow them to sit at room temperature undisturbed for 12 to 24 hours. You may hear a pop when the jars fully seal. Store pickles in a cool place.
- Prep Time: 30 minutes
- Cook Time: 20 minutes
- Category: Appetizer/Snack
- Method: Pickling
- Cuisine: American
Nutrition
- Serving Size: 1 pickle
- Calories: 15
- Sugar: 1g
- Sodium: 320mg
- Fat: 0g
- Saturated Fat: 0g
- Unsaturated Fat: 0g
- Trans Fat: 0g
- Carbohydrates: 4g
- Fiber: 1g
- Protein: 1g
- Cholesterol: 0mg
Keywords: homemade pickles, dill pickles, easy pickling recipe
