
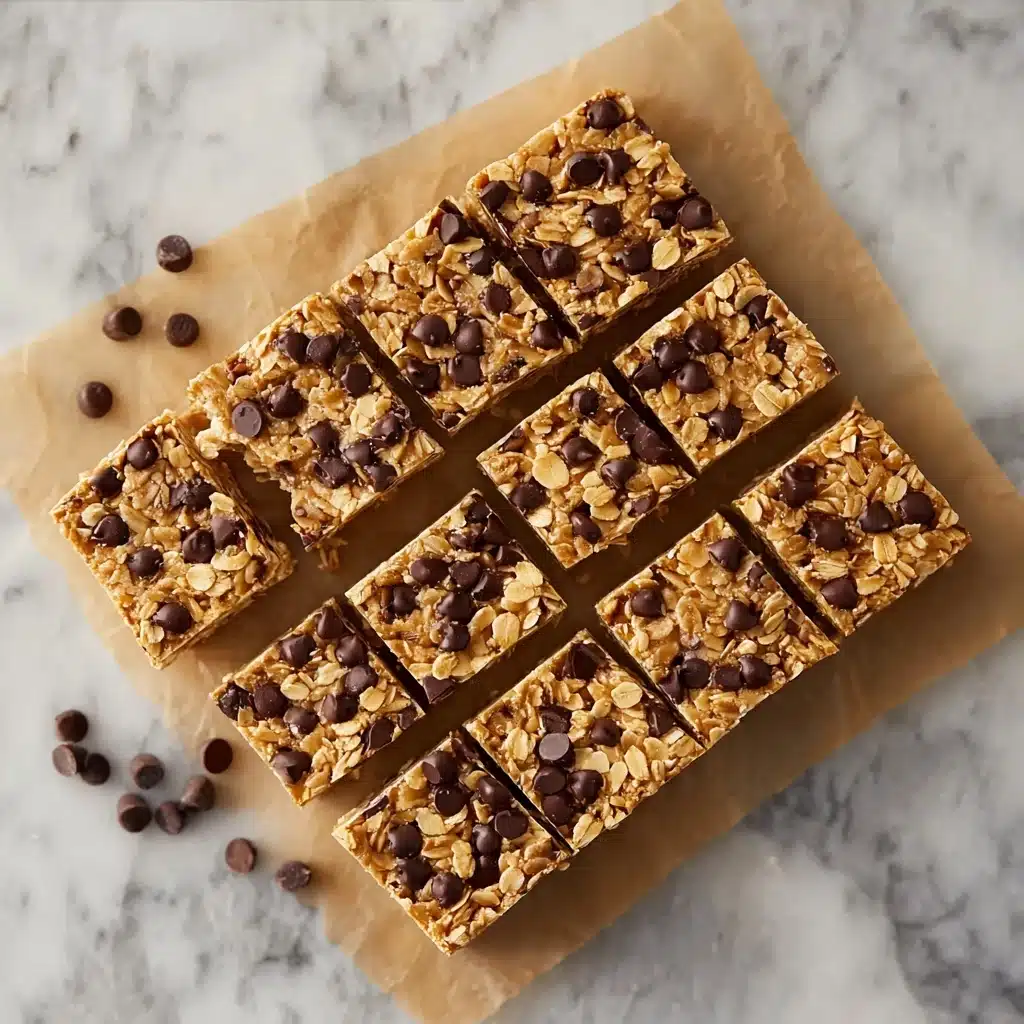
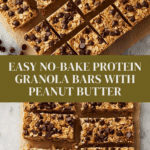
Protein Granola Bars Recipe
There is something incredibly satisfying about having a homemade snack that’s not only delicious but also packed with nutrition. That’s exactly what these Protein Granola Bars deliver. They combine the wholesome goodness of oats, the richness of peanut butter, and the power of quality protein powder for a snack that fuels your body and delights your taste buds. Whether you’re rushing out the door, need a pick-me-up during the day, or want a smart post-workout fuel, these bars strike the perfect balance between taste, texture, and convenience.
Ingredients You’ll Need
Gathering these ingredients is a breeze, and each one gives your bars a special touch, from flavor depth to moisture and crunch. With just a handful of pantry staples, you’ll get a base that’s hearty, a protein boost for staying power, and a touch of sweetness that makes every bite a treat.
- Rolled oats (3 cups): These provide a chewy, wholesome foundation and help keep the bars hearty and satisfying.
- Vanilla or plain protein powder (1 ½ cups): This not only amps up the protein content but also lends a subtle creamy flavor that binds everything together.
- Peanut butter (or almond/sunflower seed butter) (1 cup): Choose a smooth variety for a luscious texture and nutty richness that complements the oats perfectly.
- Honey or brown rice syrup (½ cup): Acts as a natural sweetener and sticky binder, holding the bars together while adding gentle sweetness.
- Mini chocolate chips (½ cup, optional): A fun little indulgence for those who want a touch of melty chocolate magic in every bar.
How to Make Protein Granola Bars
Step 1: Prepare Your Pan
Start by lining an 8×8-inch baking pan with parchment paper. Leaving an overhang will make lifting the bars out a snap after chilling, ensuring clean edges and no sticking dramas.
Step 2: Mix the Dry Ingredients
In a large bowl, combine the rolled oats with your choice of vanilla or plain protein powder. This blends the base flavors while setting the stage for the sticky ingredients to do their magic later.
Step 3: Melt the Peanut Butter and Sweetener
In a microwave-safe bowl, mix the peanut butter and honey or brown rice syrup. Microwave in short 20-second bursts until everything is melted and silky smooth. Give it a good whisk to ensure even mixing; this warm, gooey blend will help bind the bars beautifully.
Step 4: Combine Wet and Dry Ingredients
Pour your melted peanut butter mixture into the dry oats and protein powder. Stir carefully until everything is fully incorporated and you have a sticky, uniform mixture. This is the moment to fold in those mini chocolate chips or any other mix-ins you love.
Step 5: Press and Chill
Transfer the mixture to your prepared pan and press down firmly and evenly. The firmer you press, the better the bars will hold together. Then pop the pan in the fridge for at least one hour. This chilling step is crucial for the bars to set properly.
Step 6: Slice Into Bars
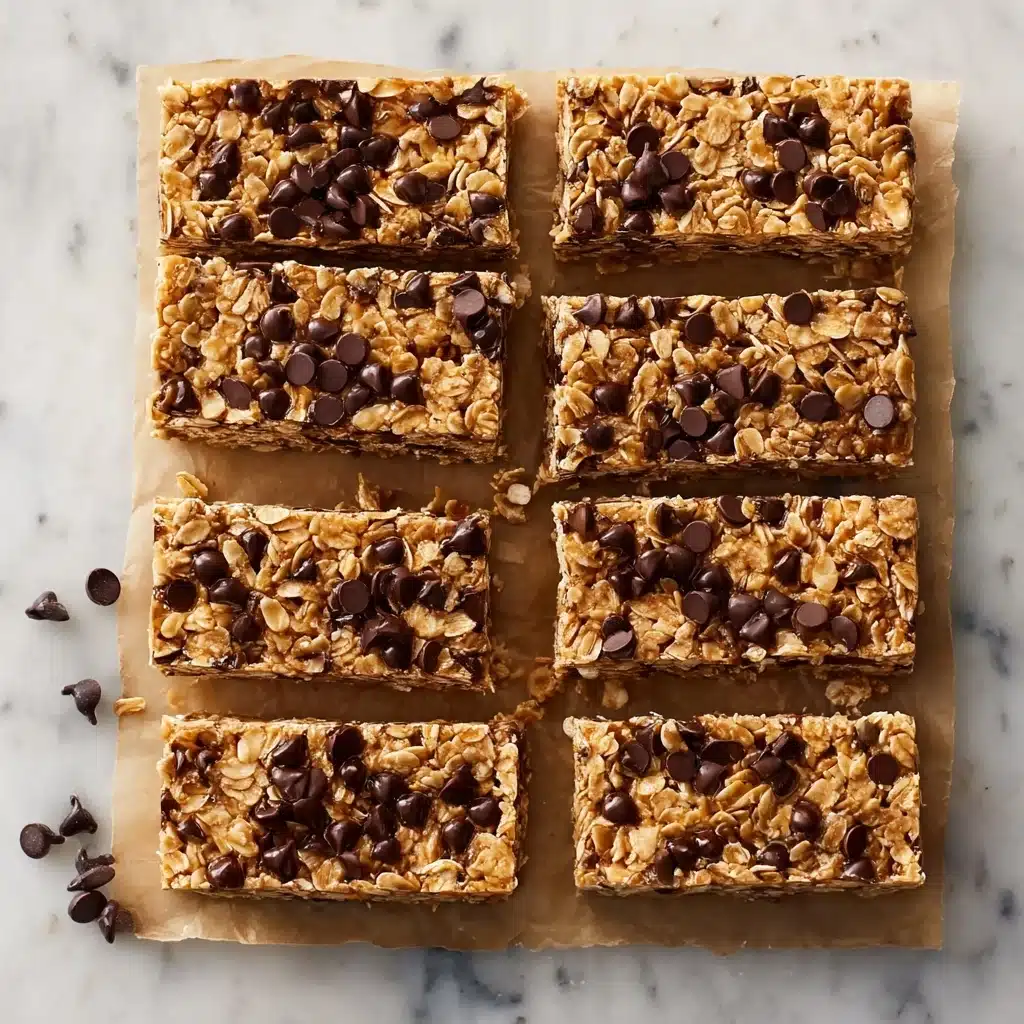
Once set, use a warm, sharp knife to slice your creation into 20 perfect bars. Warming the knife slightly between cuts helps avoid crumbling and keeps the cuts clean and sharp.
How to Serve Protein Granola Bars
Garnishes
Introduce a little extra flair by adding a drizzle of melted dark chocolate or a sprinkle of sea salt on top of each bar. This not only adds complexity to the flavor but also gives a professional, inviting look perfect for sharing.
Side Dishes
These protein-packed bars shine on their own but pair beautifully with a fresh fruit salad or a creamy yogurt dip for a mid-morning snack or a balanced breakfast. The fresh fruit adds juiciness and natural sweetness that complements the dense, nutty bars.
Creative Ways to Present
If you’re serving these bars for a crowd or packing them for a special occasion, wrap individual bars in parchment paper tied with a colorful ribbon or place them in beautiful small boxes. This simple touch takes your homemade snack from everyday treat to irresistible gift.
Make Ahead and Storage
Storing Leftovers
Keep your Protein Granola Bars fresh by storing them in an airtight container in the refrigerator. They will hold their texture and flavor for up to one week, making them a reliable snack to have on hand anytime cravings hit.
Freezing
If you want to make a bigger batch, these bars freeze wonderfully. Wrap each bar tightly in plastic wrap and place them in a freezer-safe bag or container. They will keep well for up to three months and thaw quickly when you’re ready for a nourishing bite.
Reheating
Since these bars are no-bake, reheating isn’t necessary and can make them a bit too soft. Enjoy them chilled or at room temperature for the perfect chewy consistency.
FAQs
Can I use a different nut butter?
Absolutely! Almond butter or sunflower seed butter work beautifully as alternatives. Just make sure they’re smooth for the best texture and binding.
Are Protein Granola Bars suitable for vegans?
To make these vegan, use a plant-based protein powder and replace honey with brown rice syrup or maple syrup. This way, the bars stay moist and naturally sweet without animal products.
What’s the best protein powder to use?
Choose a protein powder that you enjoy the taste of since it plays a big role here — vanilla-flavored or plain whey, pea, or rice protein powders all work great.
Can I add other mix-ins?
Definitely! Nuts, seeds, dried fruit, or even coconut flakes can be folded in at the same step as the chocolate chips to customize your bars.
How do I prevent the bars from crumbling?
Pressing the mixture firmly into the pan and ensuring enough sticky binder like peanut butter and honey helps keep the bars intact. Also, chilling them fully before slicing is key to clean cuts.
Final Thoughts
These Protein Granola Bars have quickly become one of my favorite go-to snacks for so many occasions. They’re straightforward to make, beautifully customizable, and balance indulgence with nutrition like a champ. Once you try these, I’m confident you’ll want to keep a batch in the fridge for whenever hunger strikes. So grab your ingredients, make a batch, and treat yourself to a snack that loves you back!
Print
Protein Granola Bars Recipe
- Total Time: 1 hour 10 minutes
- Yield: 20 bars 1x
- Diet: Halal
Description
These No-Bake Monster Cookie Protein Bars are a delicious, protein-packed snack perfect for athletes, busy parents, and anyone seeking a healthy, convenient treat. Made with rolled oats, protein powder, peanut butter, and honey, they offer a chewy, indulgent texture without any baking required. Optional chocolate chips add a touch of sweetness, making these bars a smart, guilt-free way to fuel your day.
Ingredients
Dry Ingredients
- 3 cups rolled oats
- 1 ½ cups vanilla or plain protein powder
- ½ cup mini chocolate chips (optional)
Wet Ingredients
- 1 cup smooth and creamy peanut butter (or almond/sunflower seed butter)
- ½ cup honey or brown rice syrup
Instructions
- Prepare the Pan: Line an 8×8-inch baking pan with parchment paper, leaving some overhang on the sides to make it easy to lift out the bars later.
- Mix Dry Ingredients: In a large bowl, combine the rolled oats and protein powder until they are thoroughly mixed.
- Heat Wet Ingredients: In a microwave-safe bowl, add the peanut butter and honey. Microwave in 20-second intervals, stirring in between, until the mixture is melted and smooth.
- Combine Mixtures: Pour the melted peanut butter and honey mixture into the dry oat and protein powder blend. Stir well until everything is fully incorporated. If using, fold in the mini chocolate chips or other mix-ins now.
- Press the Mixture into the Pan: Transfer the mixture to the prepared baking pan and press down evenly and firmly with a spatula or your hands to create a compact layer.
- Refrigerate: Place the pan in the refrigerator and chill for at least 1 hour to allow the bars to firm up.
- Slice: Once set, use a warm, sharp knife to slice the mixture into 20 bars. Warming the knife helps achieve clean cuts.
Notes
- For a vegan option, substitute honey with maple syrup, but the bars may be slightly softer.
- Almond or sunflower seed butter can be used instead of peanut butter for different flavor profiles or allergy considerations.
- Pressing the mixture firmly in the pan ensures bars hold together well.
- Store the bars in an airtight container in the refrigerator for up to one week or freeze for longer storage.
- Warming the knife before slicing helps prevent crumbling and creates clean edges.
- Prep Time: 10 minutes
- Cook Time: 0 minutes
- Category: Snack
- Method: No-Bake
- Cuisine: American
Nutrition
- Serving Size: 1 bar (approximately 36g)
- Calories: 148 kcal
- Sugar: 6 g
- Sodium: 50 mg
- Fat: 7 g
- Saturated Fat: 1.5 g
- Unsaturated Fat: 5 g
- Trans Fat: 0 g
- Carbohydrates: 15 g
- Fiber: 2 g
- Protein: 8 g
- Cholesterol: 0 mg
Keywords: protein bars, no-bake snack, healthy snack, homemade protein bars, peanut butter bars, energy bars, clean eating, easy recipe