
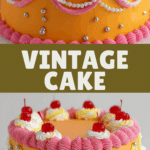
Vintage Cake Recipe
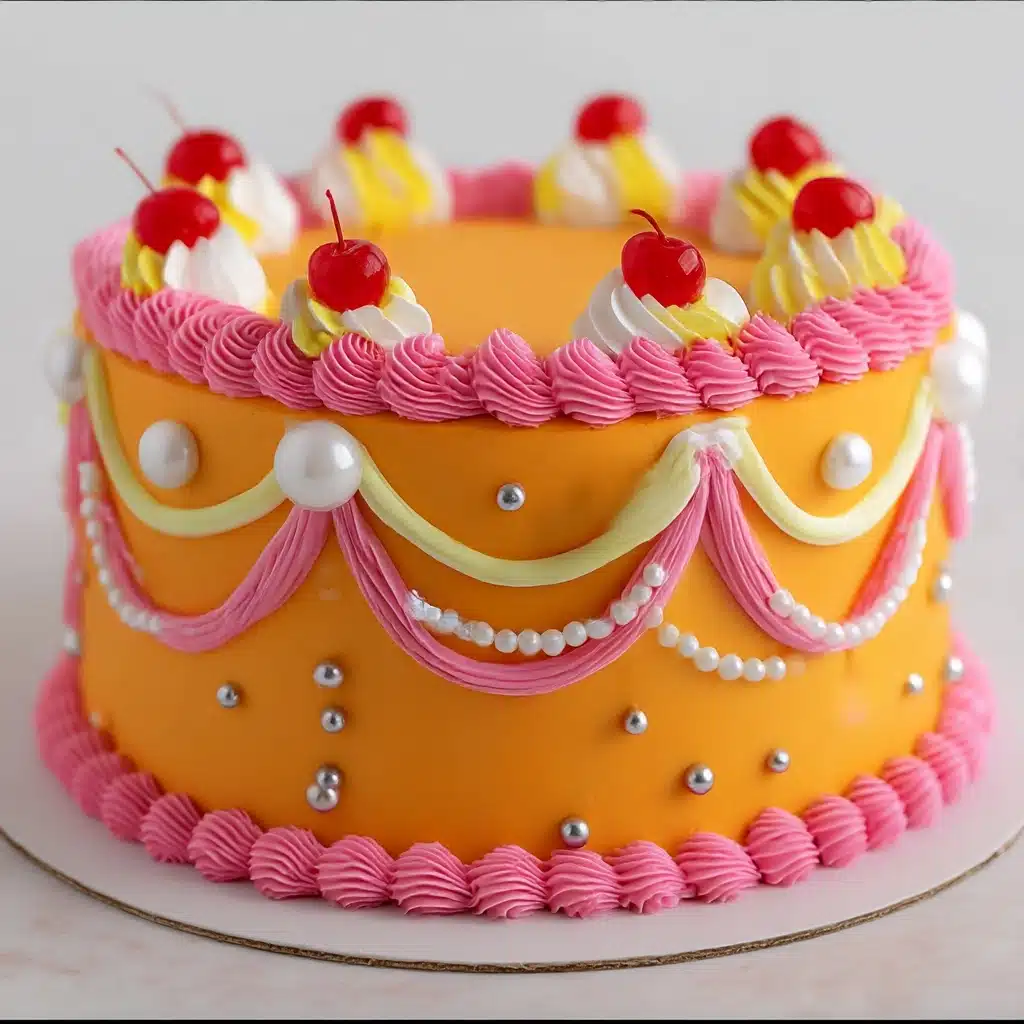
There is something truly magical about a Vintage Cake Recipe that instantly transports you back in time with every bite. This classic cake combines simple, timeless ingredients to create a tender, buttery crumb topped with beautifully nostalgic buttercream frosting in delicate pastel hues. Whether you’re celebrating a special occasion or just craving a slice of old-fashioned charm, this Vintage Cake Recipe offers a warm, inviting sweetness that feels like a loving hug from the past. It’s a recipe worth bringing back to life and sharing with your nearest and dearest.
Ingredients You’ll Need
The beauty of this Vintage Cake Recipe lies in its straightforward ingredients, each adding its own special touch to the final masterpiece. From the soft richness of butter to the delicate lightness of baking powder, these essentials come together to create a cake that is both moist and tender, with a frosting that looks as delightful as it tastes.
- All-purpose flour: The sturdy base that gives the cake its structure and soft crumb.
- Baking powder: Helps the cake rise perfectly, keeping it light and fluffy.
- Salt: Enhances and balances the sweetness for a well-rounded flavor.
- Unsalted butter: Provides richness and moisture in both cake and frosting.
- Granulated sugar: Sweetens the cake while contributing to a tender crumb.
- Large eggs: Bind ingredients and add stability and moisture.
- Vanilla extract: Adds warm, aromatic depth to both cake and frosting.
- Whole milk: Moistens the cake batter for a smooth texture.
- Powdered sugar: Creates the silky, sweet base for the buttercream frosting.
- Heavy cream or milk: Adjusts frosting consistency for easy spreading and piping.
- Gel food coloring pastels: Bring vintage elegance with soft, charming shades for decorating.
How to Make Vintage Cake Recipe
Step 1: Prep and Preheat
Start by setting your oven to 350°F (175°C) and preparing your cake pans — grease them well and line with parchment paper to ensure your cake layers come out clean and intact. This initial step makes a big difference in the final presentation and ease of removal.
Step 2: Make the Cake Batter
In a separate bowl, whisk together the flour, baking powder, and salt. This dry mix will evenly distribute the leavening agents and salt throughout the flour. In a larger bowl, beat the unsalted butter with the granulated sugar until the mixture is light and fluffy — this step traps air to give your cake a lovely lift. Incorporate the eggs one at a time, beating well after each addition to keep the texture smooth. Stir in the vanilla extract to infuse that classic warm aroma. Now, alternate adding the flour mixture and whole milk to the wet ingredients, beginning and ending with flour. This method ensures the batter stays fluffy and well mixed without overworking it.
Step 3: Bake the Layers
Divide the batter evenly between your prepared pans. Pop them in the oven and bake for about 28 to 32 minutes. A toothpick inserted in the center should come out clean when they’re perfectly done. Let the cakes cool in the pans for about 10 minutes, then carefully transfer them to a wire rack to cool completely — patience here pays off for easier frosting.
Step 4: Make the Frosting
Beat softened butter until it’s creamy and light, then gradually add sifted powdered sugar to avoid lumps. Once smooth, mix in vanilla extract and enough heavy cream or milk to reach your ideal frosting consistency. This step is where the magic of texture happens; achieving a balance between spreadable and pipeable frosting is key to that vintage look.
Step 5: Decorate Vintage Style
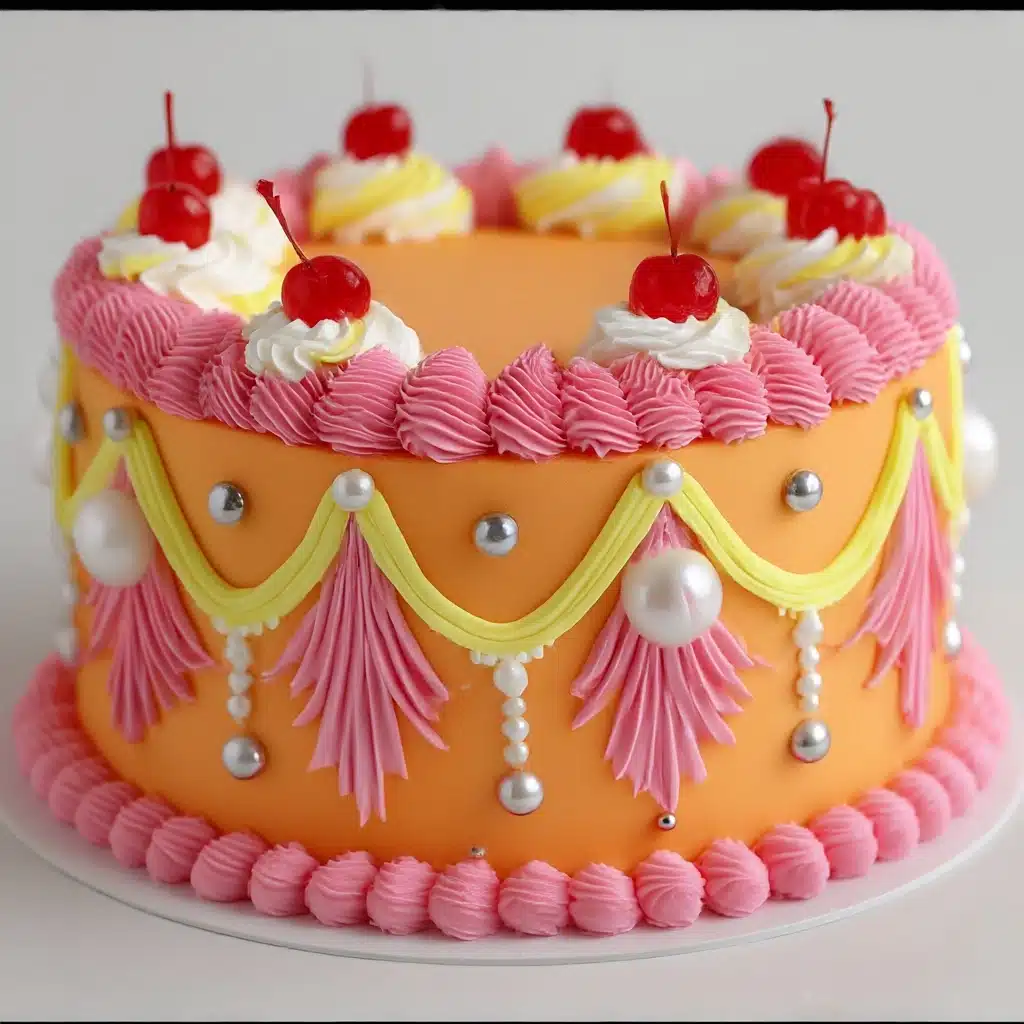
Start with a thin crumb coat to catch stray crumbs and chill briefly to set. Then apply your final coat of frosting smoothly. Using piping bags, create classic vintage details like roses, shells, pearls, and ruffles. Incorporate your pastel gel colorings here to mimic the soft, charming palette reminiscent of bygone eras. Take your time — these delicate touches are what make this Vintage Cake Recipe truly special and visually stunning.
How to Serve Vintage Cake Recipe
Garnishes
Keep things simple and elegant by adding a few fresh edible flowers or a light dusting of powdered sugar. These subtle garnishes highlight the cake’s nostalgic beauty without overpowering its vintage charm. Soft pastel shades in frosting can be accented with tiny sugar pearls to reflect that old-fashioned, handcrafted appeal.
Side Dishes
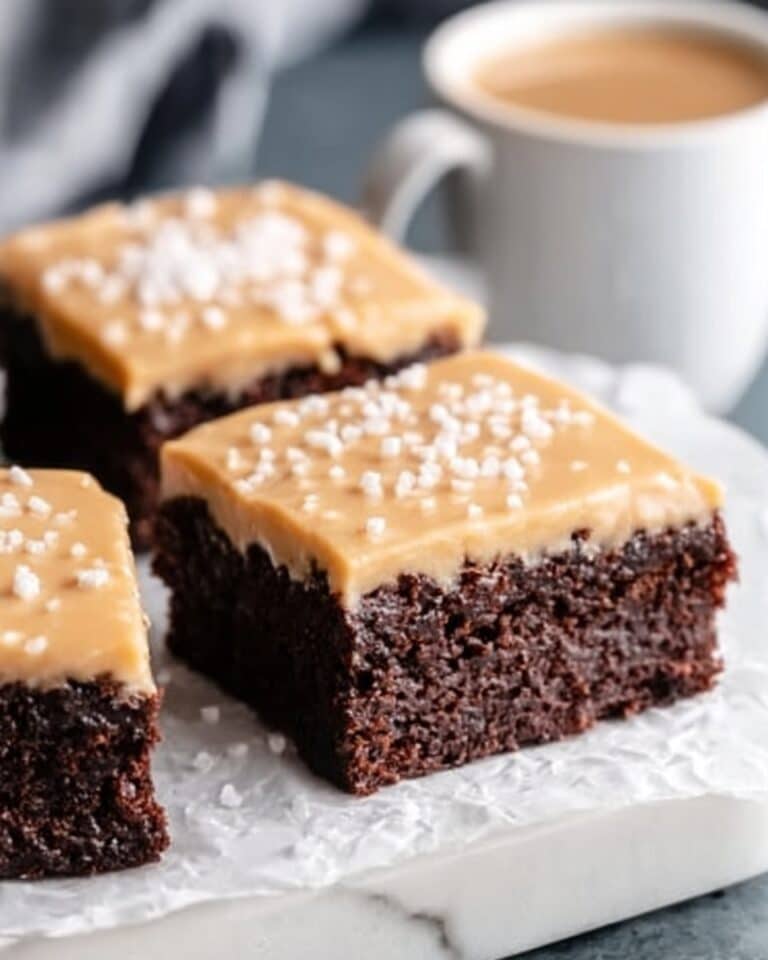
This cake pairs beautifully with a light cup of tea, such as Earl Grey or chamomile, enhancing the cake’s delicate flavors without competing with them. A small bowl of fresh berries or a scoop of vanilla ice cream can add a refreshing contrast, perfect for afternoon tea gatherings or special celebrations.
Creative Ways to Present
For a retro vibe, serve the Vintage Cake Recipe on glass cake stands or vintage china plates that showcase its pastel frosting and delicate piping. Layer slices on decorative dessert trays with lace doilies underneath for a truly charming display. Adding a vintage linen napkin and some fresh garden flowers nearby completes the look and feel of a cake steeped in tradition.
Make Ahead and Storage
Storing Leftovers
Keep your Vintage Cake Recipe fresh by storing leftovers in an airtight container at room temperature for up to two days or in the refrigerator for up to five days. Wrapping the cake slices gently in plastic wrap helps preserve moisture and prevent drying out.
Freezing
You can freeze unfrosted cake layers by wrapping them tightly in plastic wrap and then aluminum foil. Frozen cake layers remain good for up to three months. When ready to use, thaw in the refrigerator overnight before adding frosting and decorations to maintain the best taste and texture.
Reheating
Though typically enjoyed at room temperature, if you prefer your cake slightly warm, gently reheat slices in the microwave for 10-15 seconds. Avoid overheating to prevent drying out. This little warmth softens the buttercream and revives that fresh-from-the-oven feel reminiscent of this Vintage Cake Recipe’s classic roots.
FAQs
Can I use a different type of milk?
Absolutely! While whole milk gives richness and moisture, you can substitute with buttermilk or even almond milk for a slightly different flavor and texture. Just keep in mind the taste will vary slightly from the traditional Vintage Cake Recipe.
How do I get the pastel colors just right?
Use gel food coloring sparingly and build colors gradually. Mixing colors with a little white frosting can soften hues. The goal is a soft, muted pastel effect that matches vintage aesthetics rather than bold, bright colors.
Can I make this cake gluten-free?
Yes, by swapping all-purpose flour for a gluten-free flour blend that can be used cup-for-cup, you can enjoy this Vintage Cake Recipe without gluten. However, the texture might be a bit different, so consider adding a binder like xanthan gum if your flour blend doesn’t include it.
What if I don’t want to use buttercream frosting?
You can use cream cheese frosting or whipped cream as an alternative, but they will give the cake a different flavor and texture. Classic buttercream is traditional in a Vintage Cake Recipe because it holds piping details well and offers that rich, sweet finish.
How long will the decorated cake stay fresh?
If stored properly in a cool place, the decorated Vintage Cake Recipe will maintain its freshness for up to five days. Keep it covered to prevent the frosting from drying out or absorbing fridge odors.
Final Thoughts
This Vintage Cake Recipe is a delightful trip down memory lane wrapped in sweet, comforting flavors and beautiful, old-fashioned details. Baking and sharing this cake brings a sense of warmth and nostalgia that feels like wrapping someone you love in a cozy, edible hug. Give it a try, and watch how this simple yet lovingly crafted recipe becomes a cherished favorite in your kitchen and celebrations for years to come.
Print
Vintage Cake Recipe
- Total Time: 1 hour 10 minutes
- Yield: 12 servings 1x
- Diet: Vegetarian
Description
This Vintage Cake Recipe is a timeless classic featuring a moist, fluffy layered vanilla cake paired with silky buttercream frosting. Perfectly balanced with a hint of vanilla, this cake is beautifully decorated with vintage-style piping details such as roses, shells, pearls, and ruffles for an elegant presentation ideal for special occasions.
Ingredients
For the Cake:
- 2½ cups all-purpose flour
- 2½ tsp baking powder
- ½ tsp salt
- 1 cup unsalted butter, softened
- 2 cups granulated sugar
- 4 large eggs
- 1 tbsp vanilla extract
- 1 cup whole milk
For the Buttercream Frosting:
- 1½ cups unsalted butter, softened
- 5 cups powdered sugar, sifted
- 1 tbsp vanilla extract
- 2 – 4 tbsp heavy cream or milk
- Gel food coloring pastels for vintage style decoration
Instructions
- Prep and Preheat: Preheat your oven to 350°F (175°C). Grease and line your cake pans with parchment paper to ensure the cakes do not stick.
- Make the Cake Batter: In a medium bowl, whisk together the all-purpose flour, baking powder, and salt until combined. In a large mixing bowl, beat the softened butter and granulated sugar together until the mixture is light and fluffy, which usually takes about 3-5 minutes. Add the eggs one at a time, ensuring each is fully incorporated before adding the next. Mix in the vanilla extract. Alternate adding the dry flour mixture and the whole milk to the wet ingredients, beginning and ending with the flour mixture. Mix until just combined to avoid overmixing.
- Bake: Divide the batter evenly between the prepared cake pans. Place in the preheated oven and bake for 28 to 32 minutes, or until a toothpick inserted into the center of the cakes comes out clean. Allow the cakes to cool in their pans for about 10 minutes, then carefully transfer them onto a wire rack to cool completely.
- Make the Frosting: Using a mixer, beat the softened butter until creamy and smooth. Gradually add the sifted powdered sugar, mixing continuously to avoid lumps. Mix in the vanilla extract and add heavy cream or milk 1 tablespoon at a time until the frosting reaches a smooth, spreadable consistency. Divide the frosting into separate bowls and tint with gel food coloring to achieve the desired vintage pastel shades.
- Decorate Vintage Style: Begin by applying a thin layer of frosting on the cake to create a crumb coat. Chill the cake briefly to set this layer. Apply the final frosting coat smoothly over the cake. Using piping bags fitted with appropriate nozzles, create vintage-style decorative details such as roses, shells, pearls, and ruffles to embellish the cake beautifully.
Notes
- For an extra moist cake, brush the cooled cake layers with simple syrup before frosting.
- Ensure butter and eggs are at room temperature for the best texture.
- Use gel food coloring to avoid thinning the frosting consistency.
- Allow the cake to chill between decorating steps to help the frosting set well for detailed piping work.
- Store cake layers wrapped tightly in plastic wrap if making in advance to retain moisture.
- Prep Time: 20 minutes
- Cook Time: 30 minutes
- Category: Dessert
- Method: Baking
- Cuisine: American
Nutrition
- Serving Size: 1 slice (1/12 of cake)
- Calories: 420 kcal
- Sugar: 35 g
- Sodium: 180 mg
- Fat: 22 g
- Saturated Fat: 13 g
- Unsaturated Fat: 7 g
- Trans Fat: 0.5 g
- Carbohydrates: 53 g
- Fiber: 1 g
- Protein: 4 g
- Cholesterol: 95 mg
Keywords: vintage cake, buttercream frosting, classic vanilla cake, layered cake, vintage style decoration, pastel cake, homemade cake